Hi everyone!
This is another simple technique i've been doing for class lately, it's quick and easy to demonstrate so let's get right into it!
In fashion, drawing or photo editing software is used for an incredible amount of jobs; sometimes to gain inspiration, develop a design or even how to present a final design.
The kind of image edits i'm demonstrating here can be used to:
- experiment with colours
- create a print
- see how an image works against another object/body
- make cool effects on a final artwork or photograph
For my work, I wanted to see how various colours and images looked against a face/body.
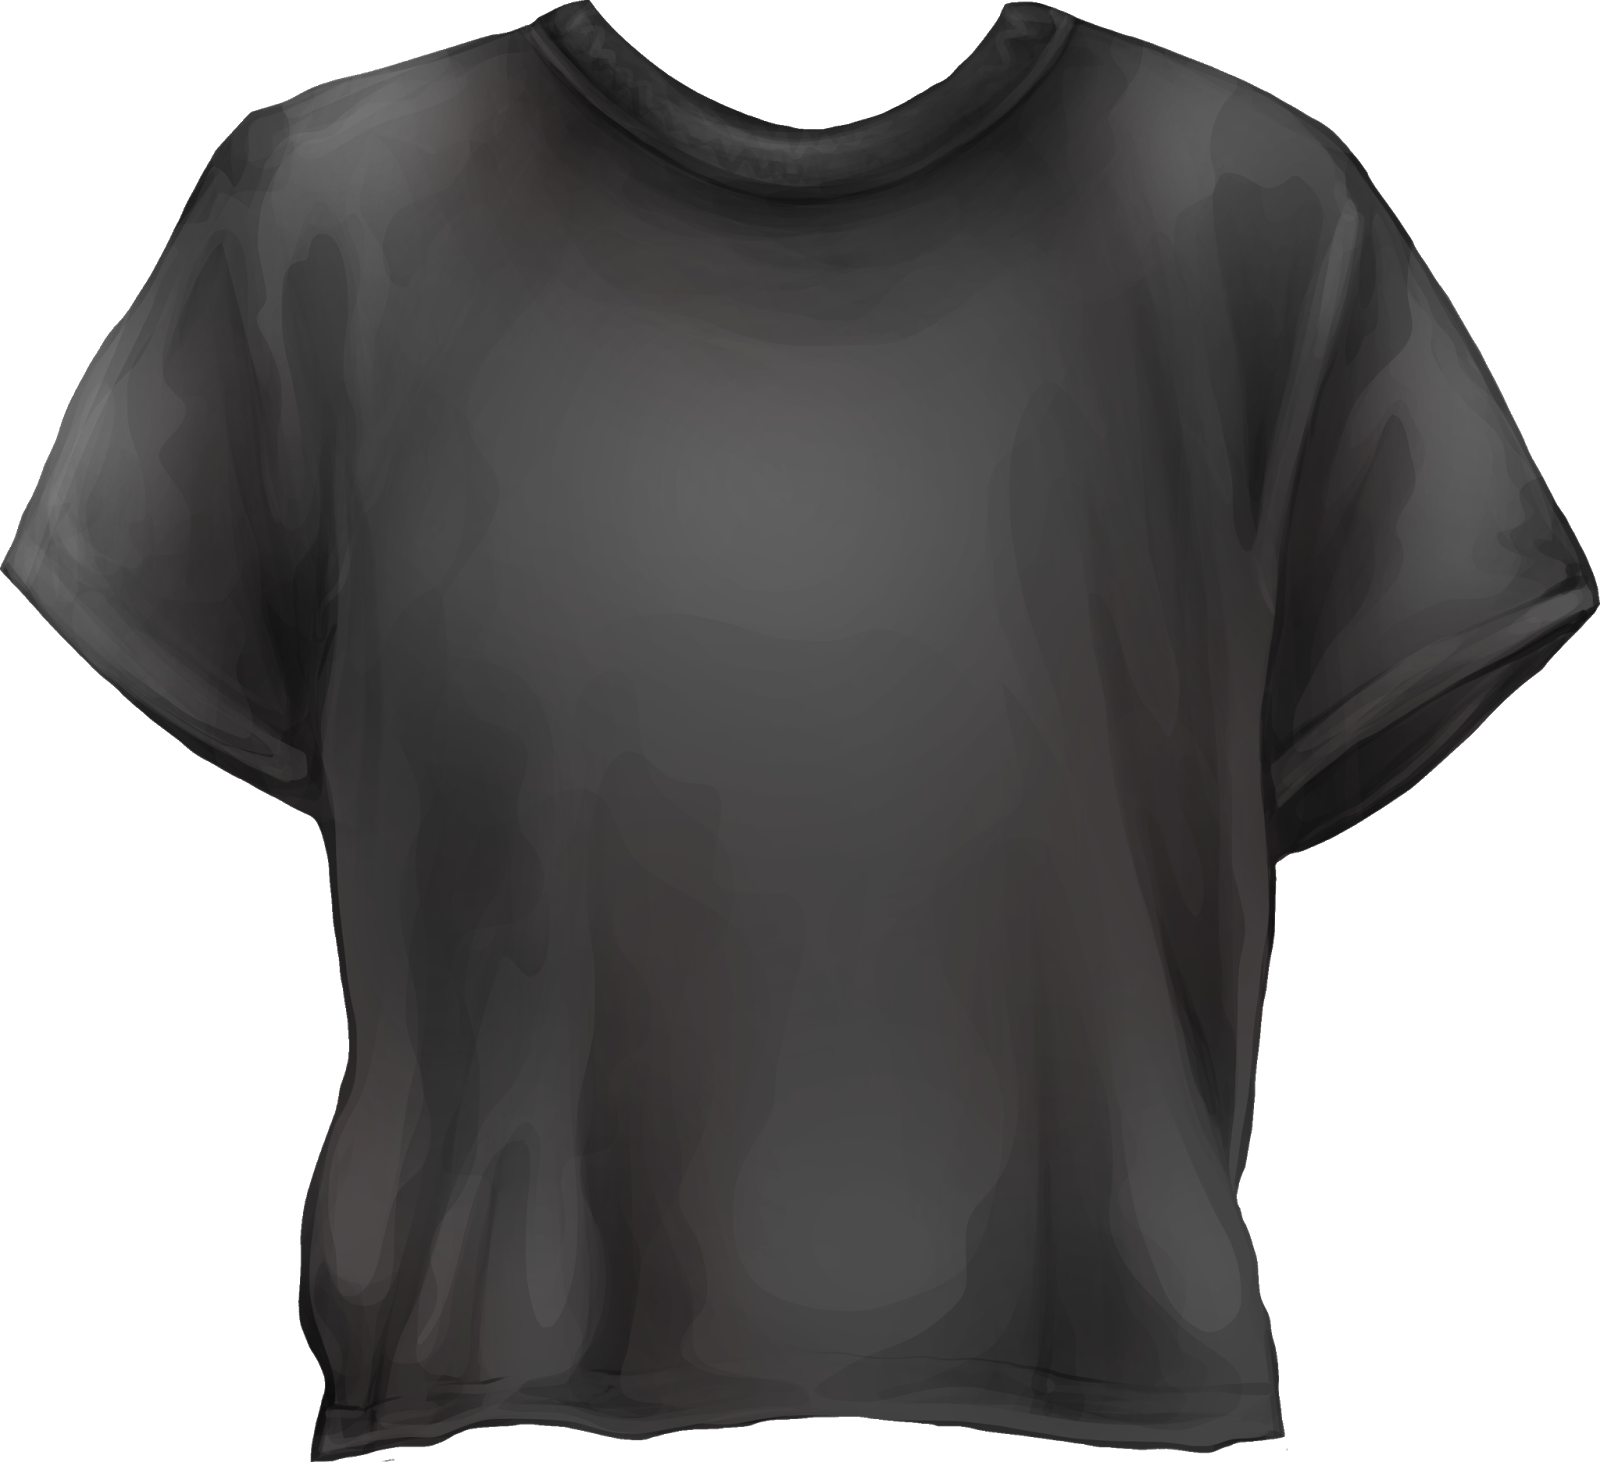
So i'm more of a designer rather than a model. But being in short of time, I fixed up a quick photo set wearing a black strapless top and a plain white shirt.
Depending on the kind of work you are wanting to make, you can also photograph yourself, somebody else, an object, clothing, drawings etc.
These are my base images, of which I will apply a texture onto.
To make textures, all you need are images of other subjects, such as colours, flowers, prints etc.
A few weeks ago I did some watermarbling with nail polish onto paper which I will be using.
You are welcome to use these too for practise purposes!
To edit, I am using Photoshop CC, but there are many alternatives for photo editing software, some are free too.
Free software I have used in the past:
Gimp - Better for photo editing
Krita - Better for art and digital painting
The steps will be very similar when using other drawing software, but the names/locations of the effects will differ.
Demonstration:
Open up Photoshop and place the base image. Then place/drag the texture onto a second layer, so it covers the entire base image.
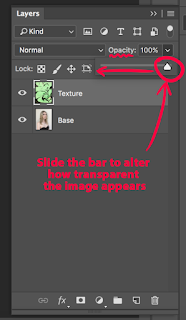
In the layers tab, there is a drop box you can open which is the layer blend mode. This affects how the selected layer interacts with other layers.
In older versions of Photoshop, this menu can be found by double-clicking on the layer.
When clicking on the dropbox, a list of layer options will show up. Now, this is the time to experiment! Different images will interact with these features in an entirely new way, so play around and try them out!
I personally recommend:
- Overlay
- Soft Light
- Pin Light
- Screen
- Multiply
- Lighten/Darken
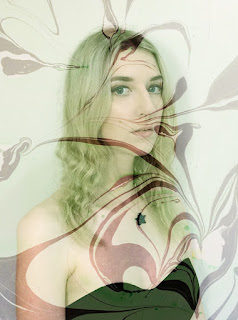 |
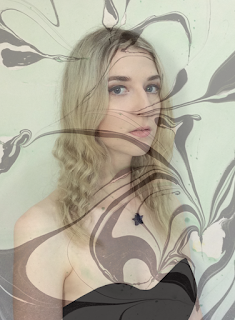
| Soft Light |
 |
| Overlay |
However, some of these layer modes might seem blinding or harsh, which is when the opacity can be changed.
You can also mix blend modes by duplicating the texture layer and choosing different effects for each selected layer. For Photoshop, this can be done by right-clicking on the layer to bring up a menu.
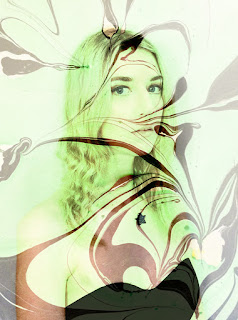
 |
| Multiply 20% Luminosity 20% |
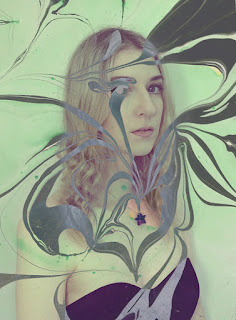 |
| For this one, I inverted the texture colours, and applied Exclusion at 72% Opacity |
You can make it striking, or more subtle, it's all up to you!
And one last tip, if you don't like how the texture is working, you can try moving the image around and placing it at a different angle. This can be done by pressing Ctrl + T or Edit > Free Transform
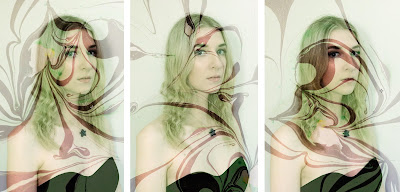 |
| Using the same texture image, but rotated at different angles |
And that's about it!
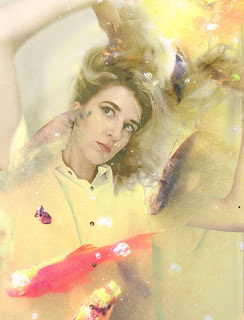
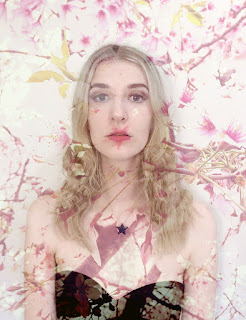
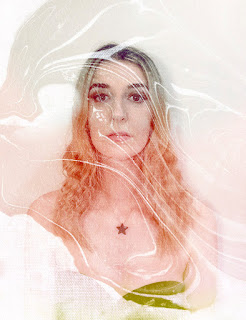
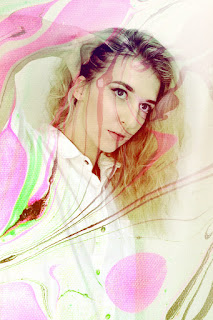
Here are some other quick edits I made with the same technique, but using different texture images.
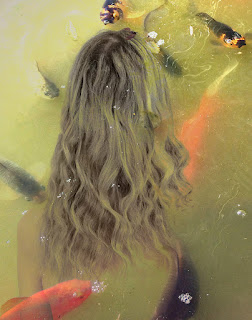 |
| Pin Light: 100% |
 |
| Screen 100% Lighten 42% Pin Light 100% |
 |
Overlay 24% Pin Light 39%
|
 |
| Screen 100% with Gradient Filter |
 |
| Pin Light 100% Overlay 41% |
Hope this helped! Keep creating!